


Child's Guitar Lesson-1
Child's Guitar Lesson-2
Kids Guitar Lesson 3
Child's Guitar Lesson-4
Child's Guitar Lesson-5
Third Guitar Lesson for Kids which uses one chord that they already know and introduces another that they don't
Click to hear a snippet of the backing track used in this lesson
There is a backing track for this lesson that you can listen to an extract from if you like in order to give you an idea of te feel of the whole thing?
Ater the last two lessons a child should have become familiar with moving between the chords of G Em C and D in time to music.
Video of first five kids guitar lessons
Here is a section of a guitar teaching video I have up there on youtube that looks at theis first "Rock Guitar" Lesson
The video will start from Lesson 3
Kids Guitar Lesson 3; Lesson Plan
Step 1: Make sure guitar is in tune
Tuning is important!
Step 2: Check on progress from the last lesson
The first part of the lesson should be taken up with making sure a child is familiar with the material presented during the first two sessions and again you should expect to spend some time ensuring that the basic shapes and principles covered in your last session are bubbling along nicely. If you have not already done so it would be a good idea to take a look at the video (which strangely enough works with the sound muted) on out page which provides an overview of how to teach guitar to kids
The lesson presented on this page uses one of the chord shapes that a child has already encountered (G) along with a new shape (A). This lesson provides a great opportunity to introduce the "full" G shape during the latter part of the session depending on progress.
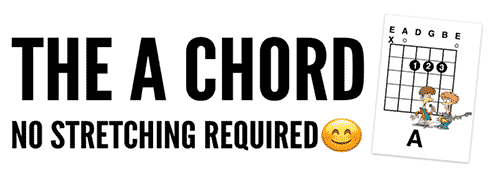
Of the eight chord shapes that kids should learn first the chord of A is one of five that do not really require a "reduced" (one finger) version. This is because when forming the shape all of the fingers are grouped closely together and there is no need for a child to stretch their fingers over the width of the neck
Step 4: Playing the A chord with and without a "1-2-3-4" count in
Ask the child to form the chord shape and strum it once after a count of 1-2-3-4. It can then be fun to get them to scratch their head with the left hand and form the shape again and strum the chord in their own time (without the 1-2-3-4 count in). This obliges them to commit the shape to memory and you should be prepared to spend a little time on this section of the lesson until a reasonably convincing A chord is being sounded

Step 5: Introduce the "full" G shape if desired
At this point ask the child to move between the new chord (A) and the one finger version of the G chord used in lessons 1 and 2. An option here is to introduce the "full" G shape which uses all six strings. If you decide to use the full G shape at this point it may be an effective strategy to spend a little more time with the G to Em progression and backing track used in lesson 1. ask your student/s to move between the full versions of each chord in time to the backing track or a metronome

Step 6: Play G Chord in response to "1-2-3-4" count in
As before encourage your learner/s to strum the new chord shape (once) in response to a count in
The graphic above shows on of our giant letter sized guitar chord "mini posters" that come with the kids guitar materials that kids can colour themselves between lessons. Its a great way of keeping them involved with the guitar even when they are not physically playing it.
Step 7: Ask your student to move between the shapes in their own time
When they can manage to move between the new A shape and whichever version (full or one-finger) of the G chord you decide to use then it is time to move onto changing between the chords in their own time.
Step 8: Playing both chords in response to count in
Before moving on to work with a backing track (Id love to sell you some but the reality is that if you have the time and technology you could probably make your own) spend a little time ensuring that the learner/s can play each chord in response to a "1-2-3-4" count in
Step 9: Work with The A to G Rock Backing Track
The A to G Rock backing track (you can play a short snippet from it by clicking on the audio player above) features bass and drums going around a progression made up of two bars of A followed by two bars of G. A child should be asked to make a single downward strum of each chord as it changes. If the child is able to change between the chords confidently you can end the lesson by increasing the complexity of the right hand strumming patterns if you like? Remember to count "1-2-3-4" into the changes until the child starts to "feel' the progression
The next lesson is an interesting one as it will introduce the final three new chords (Am Dm and E) from the eight chords that any beginner should learn first.

The Deluxe Package:
Download all of the Guitar Teaching Resources that you can see on this websitefor just $25.00


The Deluxe Package:
Download all of our products for just $25.00
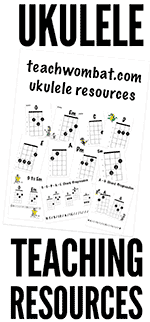
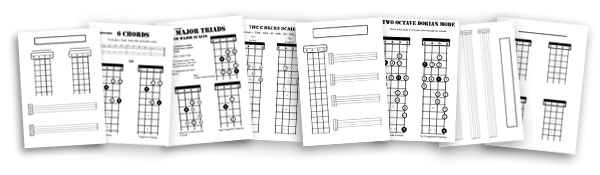
The Kids Guitar Teaching Package

More than forty sheets to download and use in your guitar teaching today. This material is designed to run alongside the "Backing Tracks and Handouts Package . All of the material that you need in order to teach kids to play guitar. Chord Charts, One finger (reduced) chord diagrams. An opportunity to start any young would be guitar player off the right way!
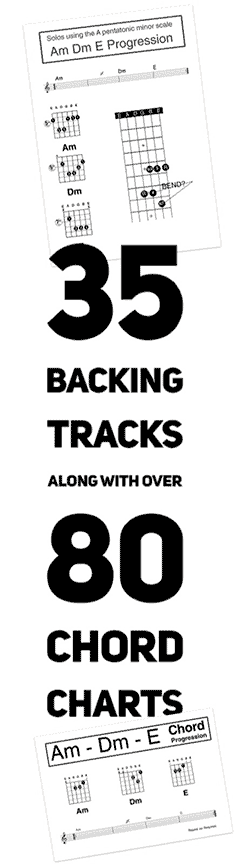
The Backing Tracks and Handouts Package

20 Backing Tracks and 46 Handouts. An invaluable aid designed to help you to teach both rhythm and lead guitar to younger and older students alike Great for helping to develop a good dense of timing
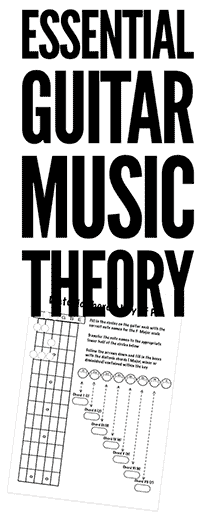
The Guitar Teacher's Toolkit
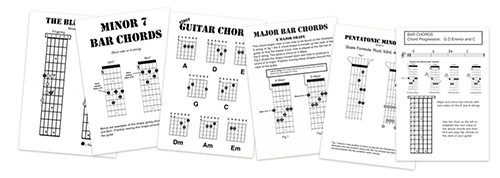
100 printable sheets dealing with Open Chords-Bar Chords-Scales- Modes- Blank Fretboard and Chord Grids Teaching Diary and Business Card Designs
Plus 100 Giant (letter sized) Chord Grids

laminate them in order to help you to teach group guitar lessons, distribute them to your students or just stick on your teaching studio wall? The "Coolest Wallpaper on the planet?"
And a freebie from us to you!
The Bass Guitar Teacher's Toolkit
Over 60 Handouts for anyone who already teaches (or who wishes to teach) bass guitar covering Scales, Chords, Fingering Exercises etc
Over 300 Sheets and 20 Backing tracks to Download and use TODAY!
Everything you need to start or improve a guitar teaching business! It's all there!
Only $25.00
HOW TO DOWNLOAD
the teachwombat materials
Buy your teachwombat.com toolkits in complete safety via any major credit card (through paypal) or directly through your paypal account if you have one. If you choose to use a credit card, rest assured that we never see your credit card details as paypal do all of that for us.
When Paypal receive your payment you will be immediately invited to click a
"RETURN TO MERCHANT"button.
You will be taken to a page from where you can download the products that you have paid for NOW!
In the (rare) event that something should go wrong with the order/download process just email me at robh@teachwombat.com
I will check the order and send you the links that will get you to your stuff.
Cheers! Rob!


Click The PayPal logo above to purchase and download the guitar teacher's toolkits NOW